Sailboats, with their unique design and mode of operation, present distinct energy requirements compared to traditional land-based structures.
These vessels rely heavily on electrical systems for navigation, communication, and various onboard amenities, all of which need a reliable and consistent power source.
Traditionally, sailboats have primarily depended on diesel generators or battery banks to meet their energy needs. However, these solutions can be bulky, noisy, and require regular maintenance, not to mention the environmental impact of fossil fuel-powered generators.
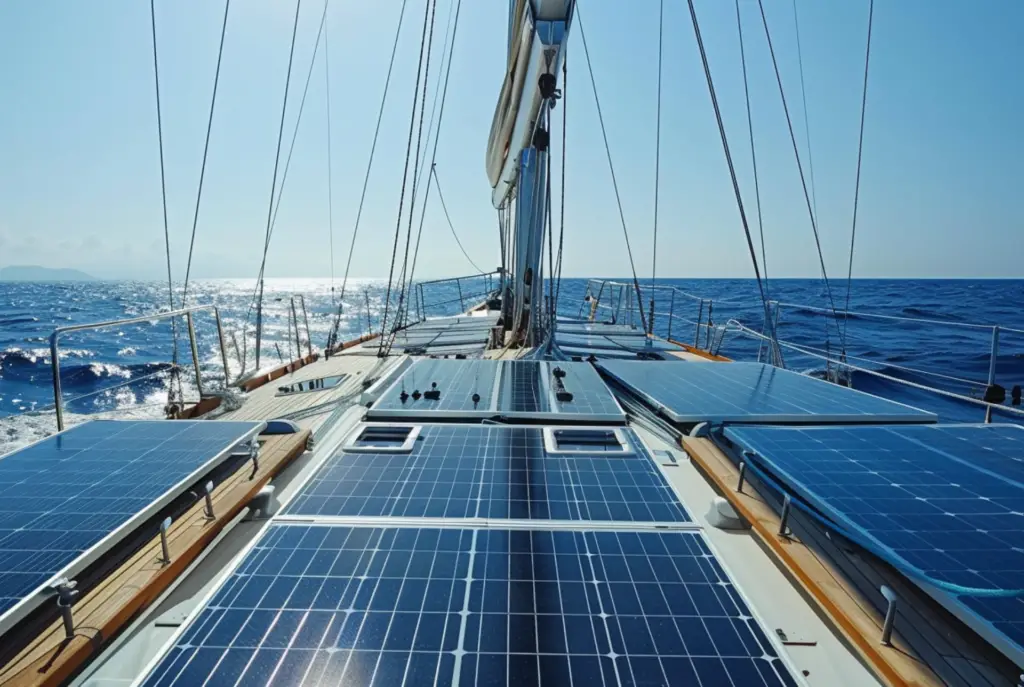
As the demand for sustainable and eco-friendly boating solutions grows, the integration of solar panels on sailboats has become an increasingly attractive option.
Assessing the Feasibility of Installing Solar Panels on a Sailboat
Before embarking on the installation of solar panels on a sailboat, it is essential to assess the feasibility of such a project. Several key factors must be considered, including the available roof or deck space, the sailboat’s energy consumption patterns, and the compatibility of the solar panel system with the vessel’s existing electrical infrastructure.
Careful planning and analysis will help ensure that the solar panel installation is not only practical but also optimized for maximum energy generation and efficiency. This assessment phase will also help determine the appropriate size and type of solar panels required to meet the sailboat’s energy demands.
Selecting the Right Type and Size of Solar Panels for Your Sailboat
When it comes to installing solar panels on a sailboat, the selection of the right type and size of panels is crucial. Factors such as the available roof or deck space, the sailboat’s energy consumption, and the desired level of energy generation should be taken into account.
Monocrystalline and polycrystalline solar panels are the two most common options for sailboat applications. Monocrystalline panels are known for their higher efficiency and compact design, making them a popular choice for limited space on sailboats. Polycrystalline panels, on the other hand, offer a more cost-effective solution while still providing reliable energy generation.
The size of the solar panels will depend on the sailboat’s energy needs and the available installation space. It is important to carefully calculate the energy requirements and select the appropriate panel size to ensure that the solar system can meet the vessel’s power demands.
Gathering the Necessary Tools and Materials for Installation
Preparing for the solar panel installation on a sailboat requires the gathering of a specific set of tools and materials. This includes, but is not limited to:
- Solar panels
- Solar charge controller
- Inverter (if required)
- Wiring and connectors
- Mounting brackets and hardware
- Drill and screwdrivers
- Sealants and weatherproofing materials
- Multimeter for testing and troubleshooting
Ensuring that all the necessary components are available and in good condition will help streamline the installation process and minimize any potential delays or complications.
Preparing the Sailboat for Solar Panel Installation
Before the actual installation of the solar panels, it is crucial to properly prepare the sailboat’s surface and electrical system. This may involve:
- Cleaning and preparing the mounting surfaces to ensure a secure and weatherproof installation
- Identifying the optimal placement of the solar panels to maximize sun exposure and energy generation
- Assessing the existing electrical system and making any necessary upgrades or modifications to accommodate the new solar panel system
Thorough preparation will not only ensure the long-term durability and performance of the solar panels but also help prevent any potential safety hazards or interference with the sailboat’s operations.
Step-by-Step Guide to Mounting Solar Panels on a Sailboat
- Determine the Mounting Location: Carefully select the best location on the sailboat’s roof or deck to install the solar panels. Consider factors such as sun exposure, panel orientation, and accessibility for maintenance.
- Prepare the Mounting Surface: Clean the mounting surface thoroughly, removing any dirt, debris, or obstructions that could interfere with the installation. Ensure the surface is smooth and level.
- Secure the Mounting Brackets: Attach the mounting brackets to the sailboat’s surface using the appropriate hardware and sealants to create a weatherproof seal.
- Install the Solar Panels: Carefully place the solar panels onto the mounting brackets and secure them in place according to the manufacturer’s instructions.
- Connect the Electrical Components: Wire the solar panels to the charge controller, and then connect the charge controller to the sailboat’s battery bank or electrical system.
- Test the System: Perform a comprehensive test of the solar panel system to ensure it is functioning correctly and generating the expected amount of power.
- Optimize the System: Adjust the panel orientation and tilt angle as needed to maximize energy generation based on the sailboat’s location and usage patterns.
- Secure and Weatherproof the Installation: Apply sealants and weatherproofing materials to protect the electrical connections and ensure the long-term integrity of the solar panel system.
Wiring and Connecting the Solar Panels to the Sailboat’s Electrical System
Integrating the solar panel system with the sailboat’s existing electrical infrastructure is a critical step in the installation process. This involves:
- Identifying the Sailboat’s Electrical System: Understand the current setup, including the battery bank, inverter, and any other electrical components.
- Selecting the Appropriate Wiring and Connectors: Choose high-quality, marine-grade wiring and connectors that can withstand the harsh marine environment and ensure a secure, reliable connection.
- Routing the Wiring: Carefully route the wiring from the solar panels to the charge controller and battery bank, ensuring the cables are protected from potential damage.
- Connecting the Components: Follow the manufacturer’s instructions to properly connect the solar panels, charge controller, and battery bank, ensuring a safe and efficient electrical system.
- Grounding the System: Establish a proper grounding system to protect the solar panel installation and the sailboat’s electrical infrastructure from potential electrical hazards.
- Integrating with Existing Electrical Systems: If necessary, integrate the solar panel system with the sailboat’s existing electrical systems, such as the navigation and communication equipment, to provide a comprehensive power solution.
Testing and Optimizing the Solar Panel System for Maximum Energy Generation
After the installation is complete, it is essential to thoroughly test the solar panel system to ensure it is functioning correctly and generating the expected amount of power. This process may involve:
- Measuring the System’s Output: Use a multimeter to measure the voltage, current, and power output of the solar panels to verify they are performing as expected.
- Adjusting the Panel Orientation: Fine-tune the tilt and orientation of the solar panels to optimize their exposure to the sun and maximize energy generation.
- Monitoring the System’s Performance: Regularly monitor the solar panel system’s performance, tracking the energy generation and identifying any potential issues or inefficiencies.
- Troubleshooting and Resolving Issues: If any problems arise, such as decreased power output or electrical faults, quickly diagnose and address them to maintain the system’s optimal performance.
- Implementing Ongoing Maintenance: Develop a routine maintenance plan to keep the solar panels clean, the electrical connections secure, and the overall system in top condition.
Maintenance and Care of Sailboat Solar Panels
Ensuring the long-term performance and reliability of the solar panel system on a sailboat requires regular maintenance and care. This includes:
- Cleaning the solar panels to remove any dirt, debris, or salt buildup that could affect their efficiency
- Inspecting the electrical connections and wiring for any signs of wear or damage
- Monitoring the charge controller and battery bank to ensure they are functioning correctly
- Addressing any issues or malfunctions promptly to prevent further damage or performance degradation
By following a comprehensive maintenance plan, sailboat owners can maximize the lifespan and energy generation capabilities of their solar panel system, ensuring a reliable and sustainable power source for their vessel.
Additional Sustainable Energy Solutions for Sailboats
While solar panels are a highly effective solution for sailboat energy generation, they can be complemented by other sustainable energy technologies to create a comprehensive and resilient power system. Some additional options include:
- Wind Turbines: Integrating small-scale wind turbines with the solar panel system can provide a diversified source of renewable energy, especially in areas with consistent wind patterns.
- Hydro-Generators: Harnessing the power of the water through hydro-generators can generate electricity while the sailboat is underway, further supplementing the solar panel system.
- Energy-Efficient Appliances and Lighting: Upgrading to energy-efficient appliances and LED lighting can significantly reduce the overall energy consumption of the sailboat, allowing the solar panel system to more effectively meet the power demands.
- Battery Storage Solutions: Incorporating high-capacity battery banks can store excess energy generated by the solar panels, providing a reliable backup power source and ensuring continuous power even during periods of low sun exposure.
By exploring and implementing a combination of these sustainable energy solutions, sailboat owners can create a robust and self-sufficient power system that reduces their reliance on traditional fossil fuel-based generators.
